Cluster & Resource (Required)
You can run your experiment on either VESSL’s managed cluster or your custom cluster. Start by selecting a cluster.- Managed Cluster
- Custom Cluster
Once you selected VESSL’s managed cluster, you can view a list of available resources under the dropdown menu. 

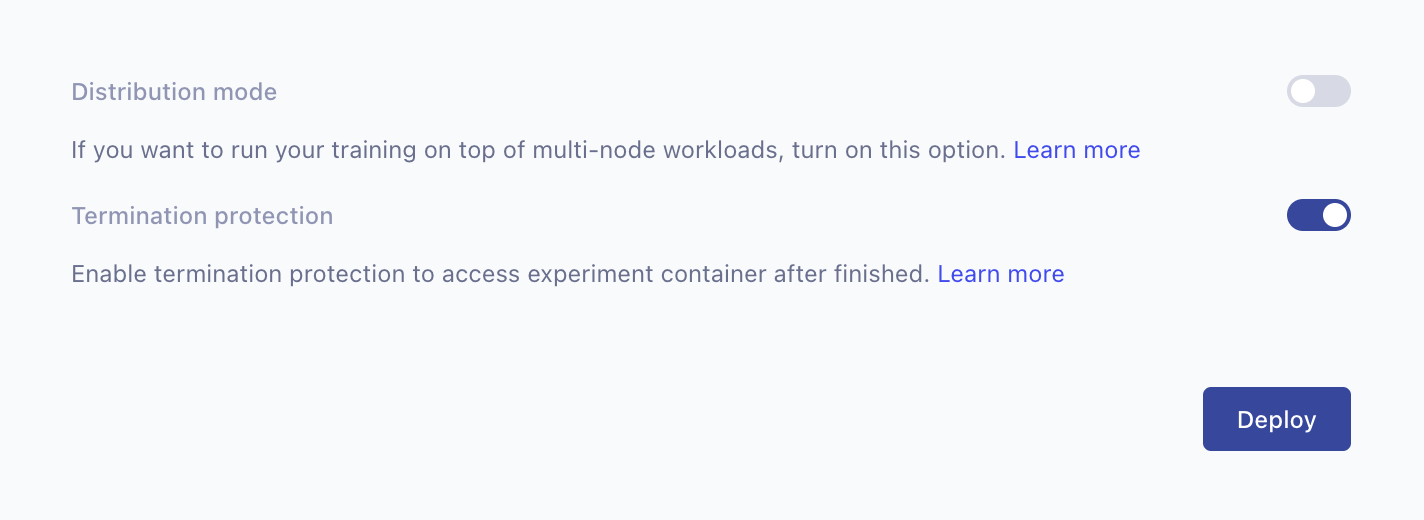
Distribution Mode (Optional)
You have an option to use multi-node distributed training. The default option is single-node training.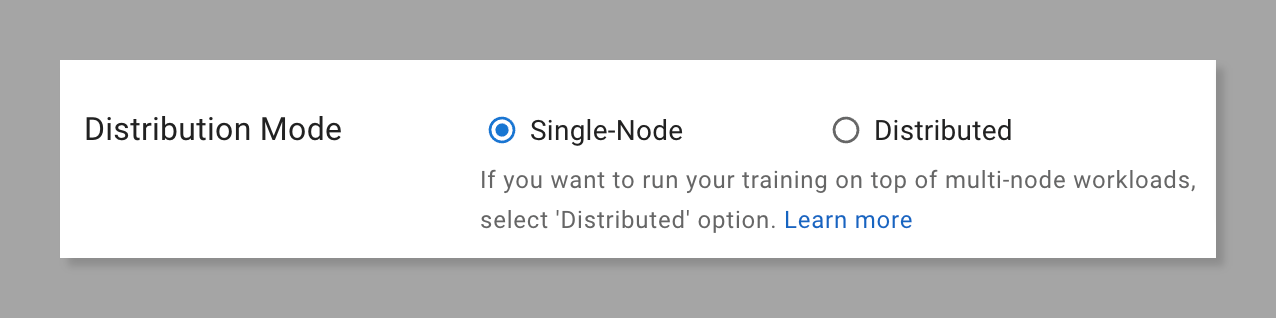
Image (Required)
Select the Docker image that the experiment container will use. You can either use a managed image provided by VESSL or your own custom image.- Managed Image
- Custom Image
Managed images are pre-pulled images provided by VESSL. You can find the available image tags at VESSL’s Amazon ECR Public Gallery. 


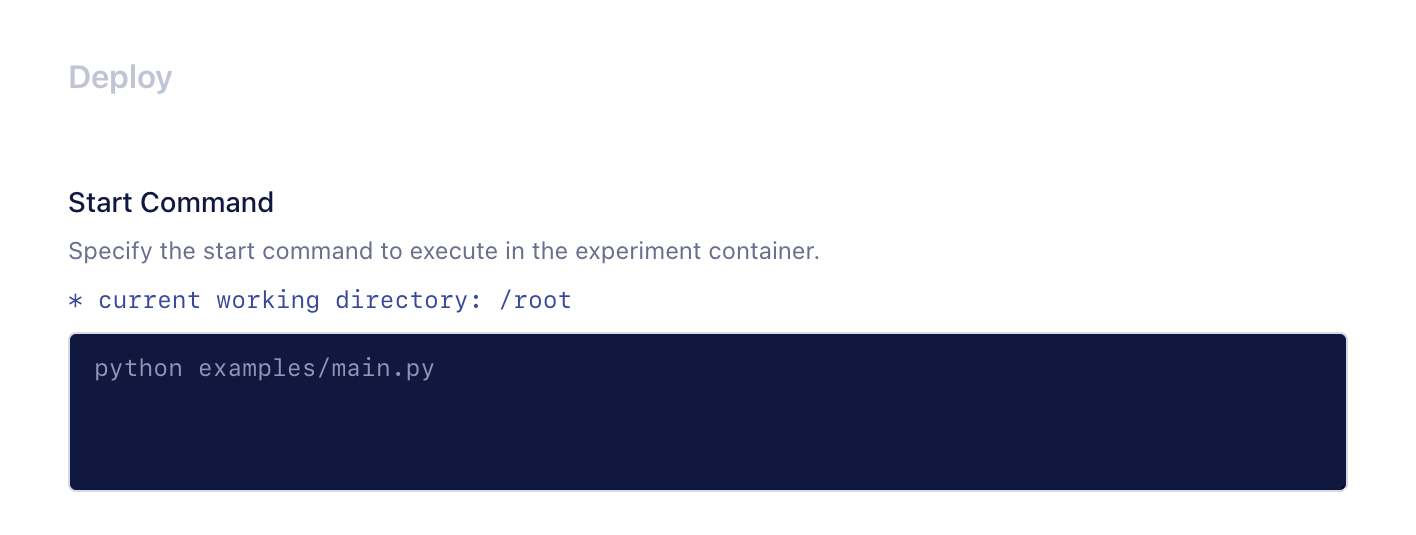
Start Command (Required)
Specify the start command in the experiment container. Write a running script with command-line arguments just as you are using a terminal. You can put multiple commands by using the&& command or a new line separation.
Volume (Optional)
You can mount the project, dataset, and files to the experiment container.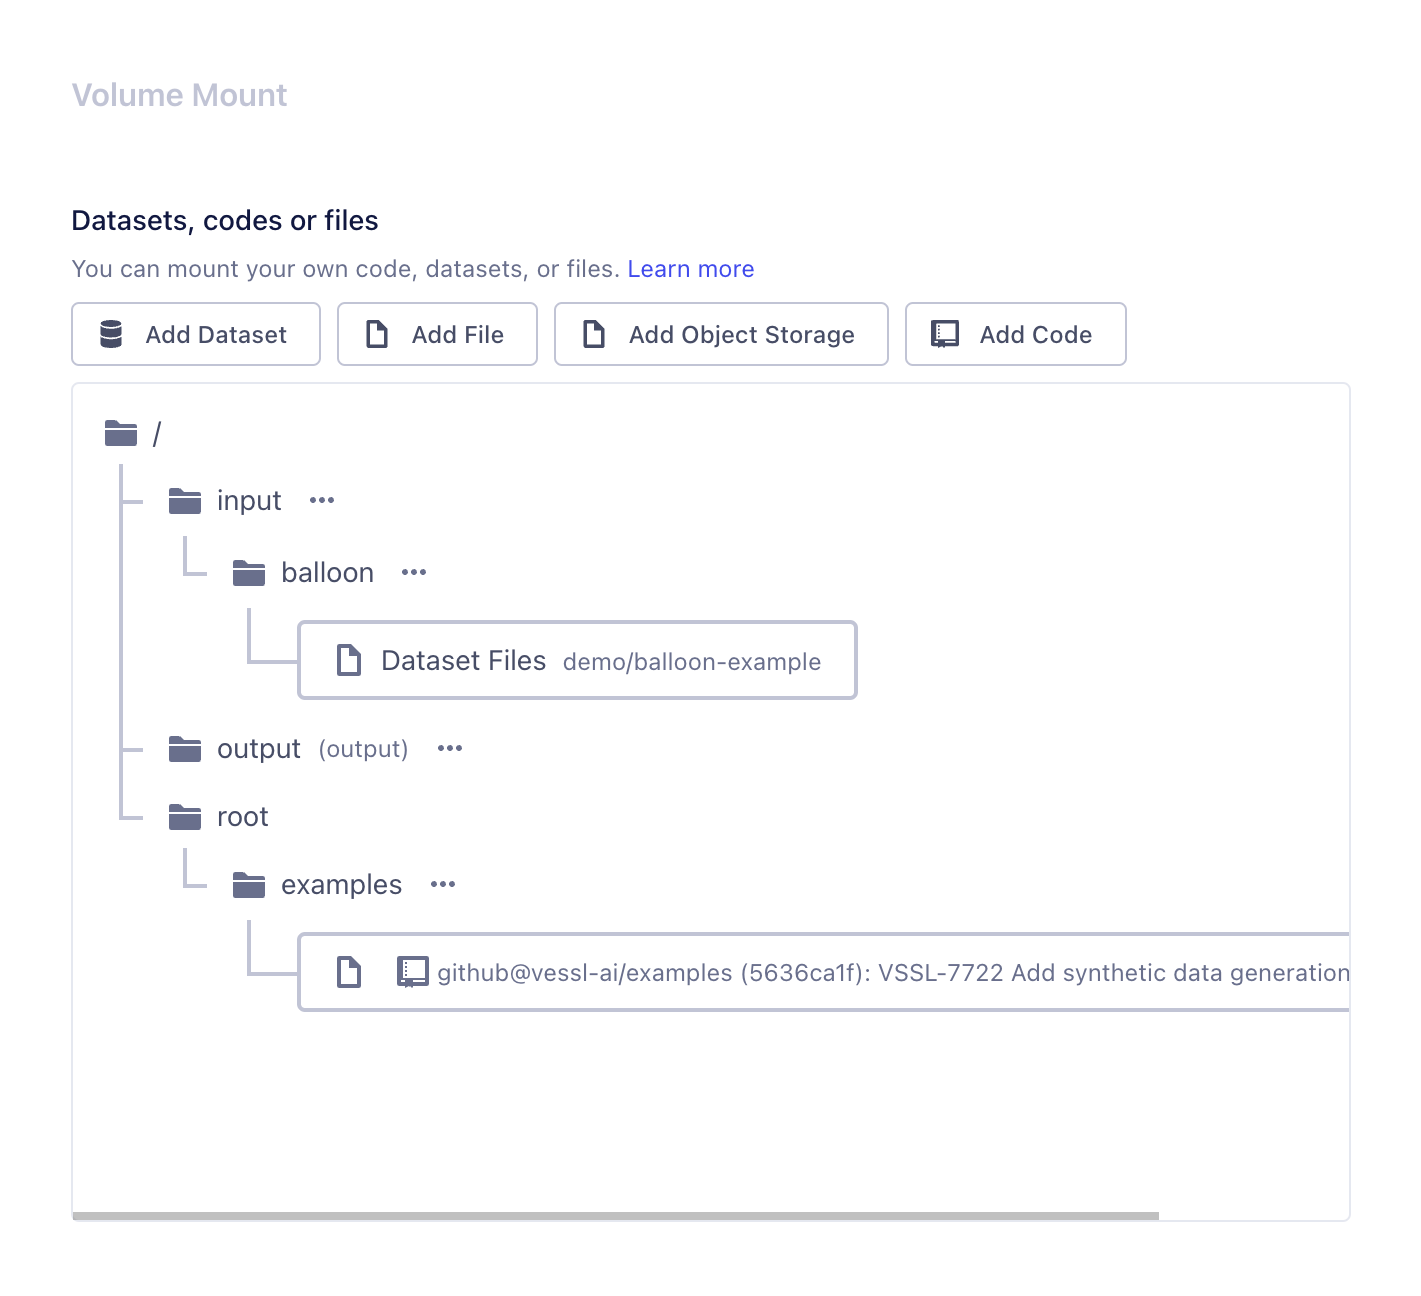
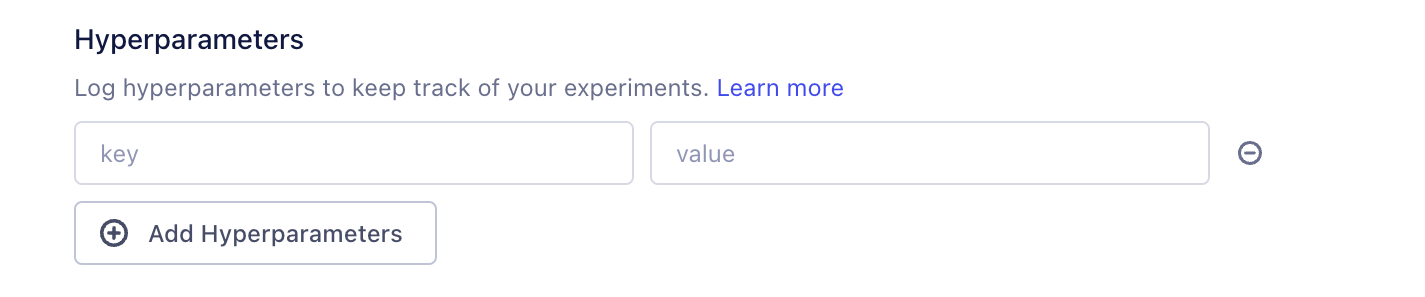
Hyperparameters
You can set hyperparameters as key-value pairs. The given hyperparameters are automatically added to the container as environment variables with the given key and value. A typical experiment will include hyperparameters likelearning_rate and optimizer.
Termination Protection
Checking the termination protection option puts experiments in idle once it completes running, so you to access the container of a finished experiment.