Step-by-step integration guide
1
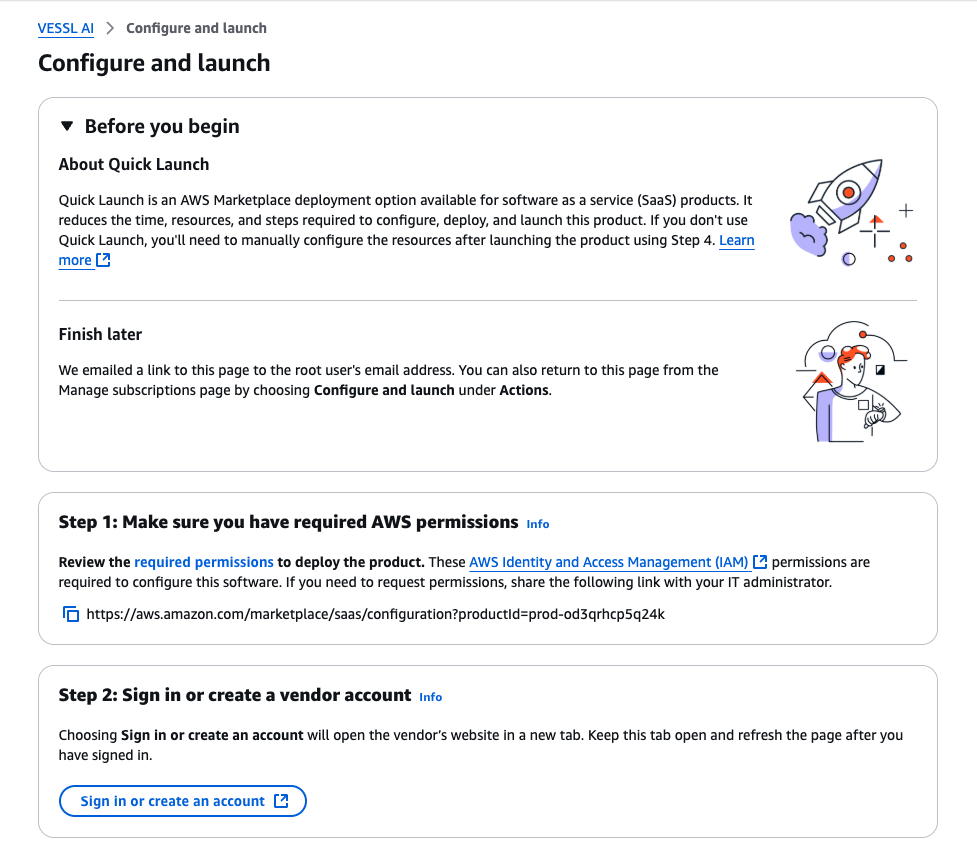
Access VESSL AI on AWS marketplace
- Visit the AWS Marketplace and search for VESSL AI.
- Click View purchase options to check the pricing.
- Accept the terms and subscribe.
- After subscribing, the Quick Launch option will become available.
2
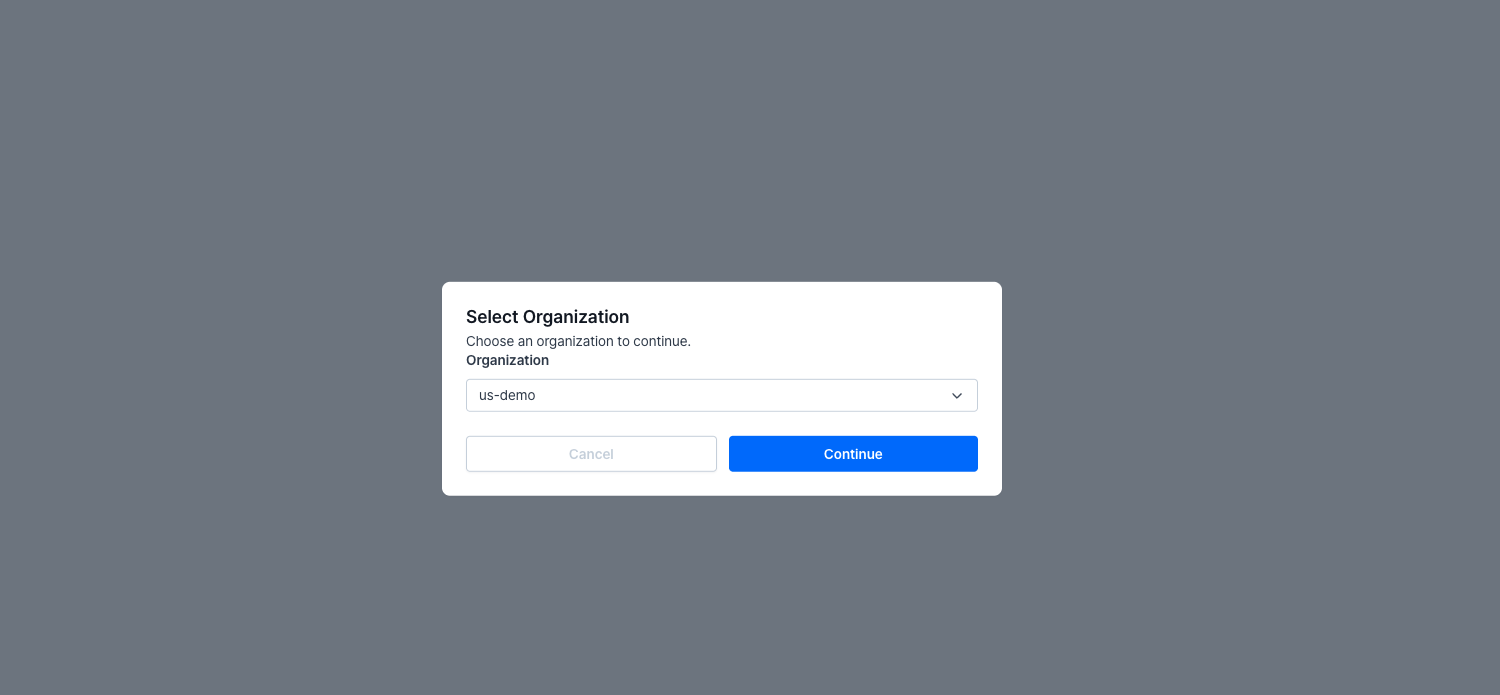
Sign in to your VESSL account
- Click Step 2: Sign in or create an account to log in to VESSL.
- Select your Organization after logging in.
- Click Generate AWS EKS Integration Token.
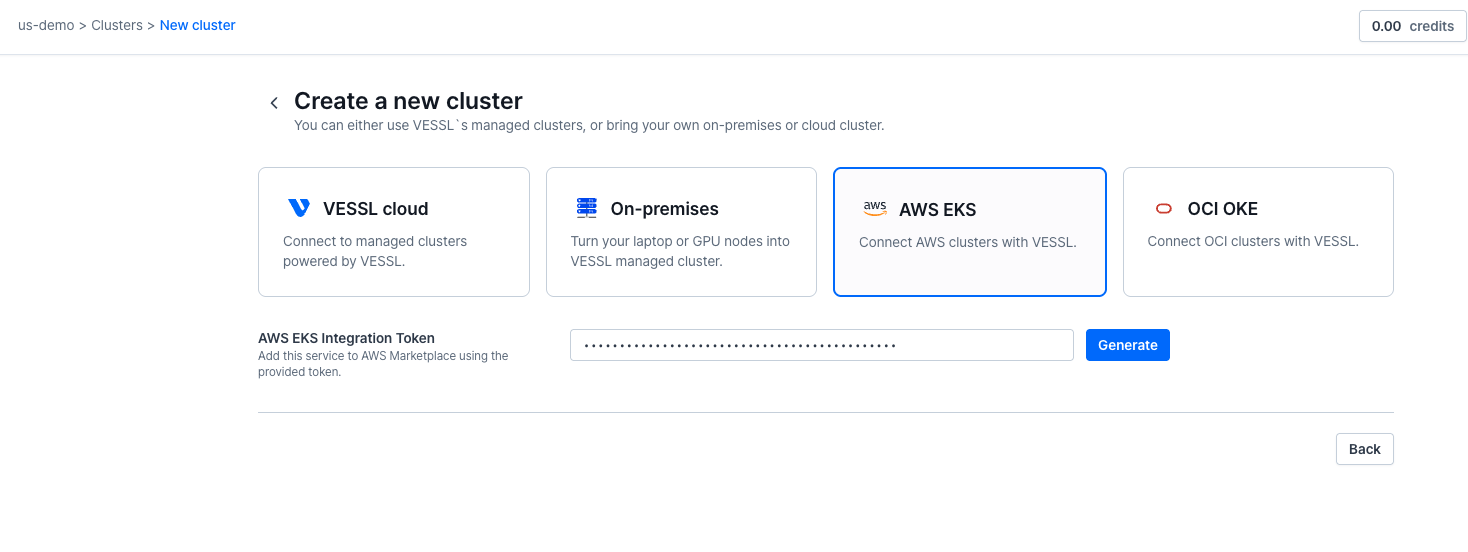
- Copy the generated token — you’ll need to paste this later in the CloudFormation form.
Make sure you select the correct organization before generating the token.
3
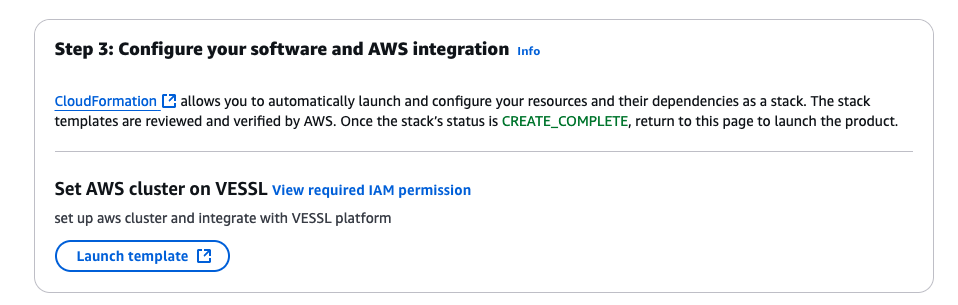
Configure your integration using a template
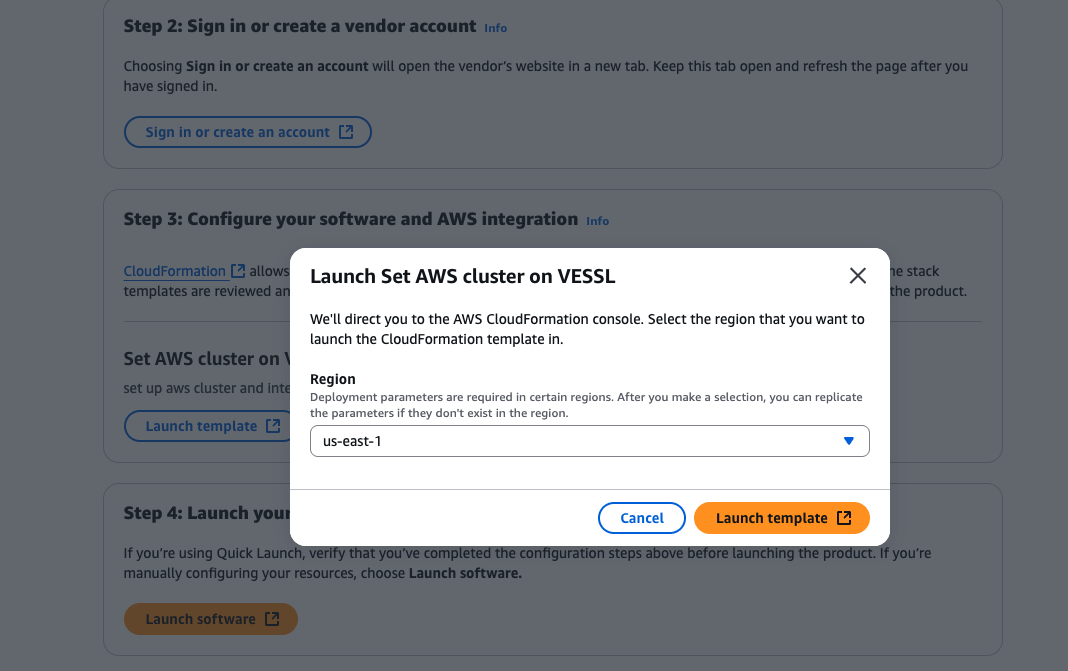
- On the AWS Marketplace page, click Launch template under Quick Launch.
- Select the Region where your cluster will be deployed.
4
Fill out stack parameters
You’ll be redirected to the CloudFormation form.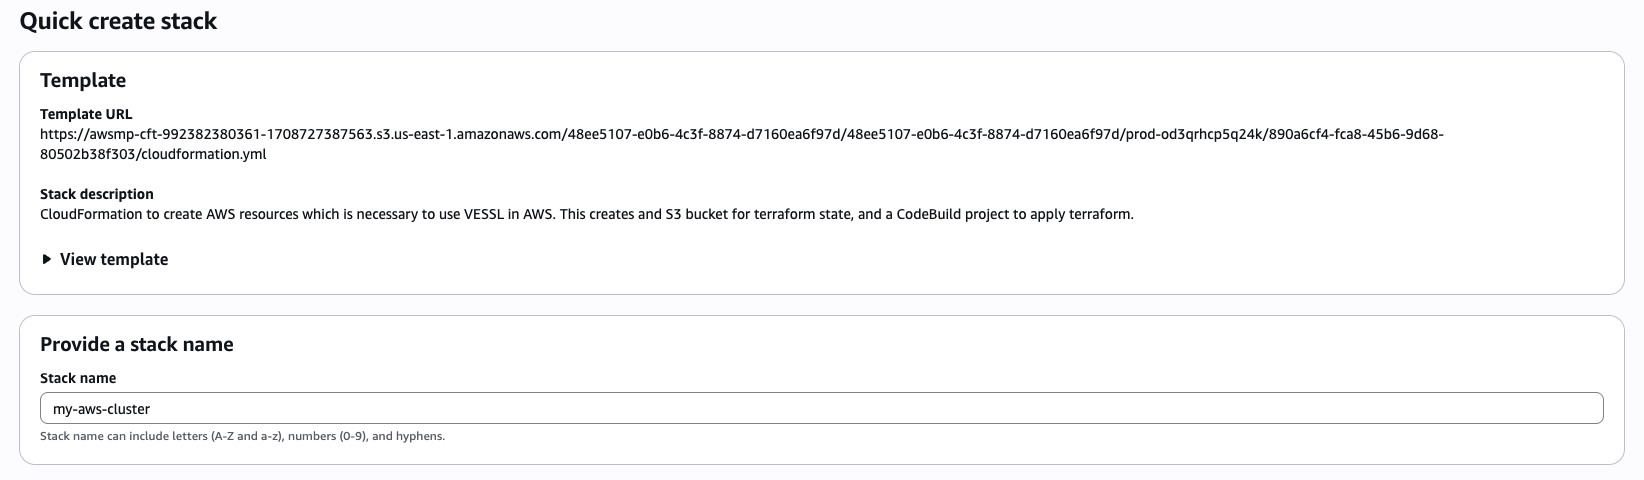
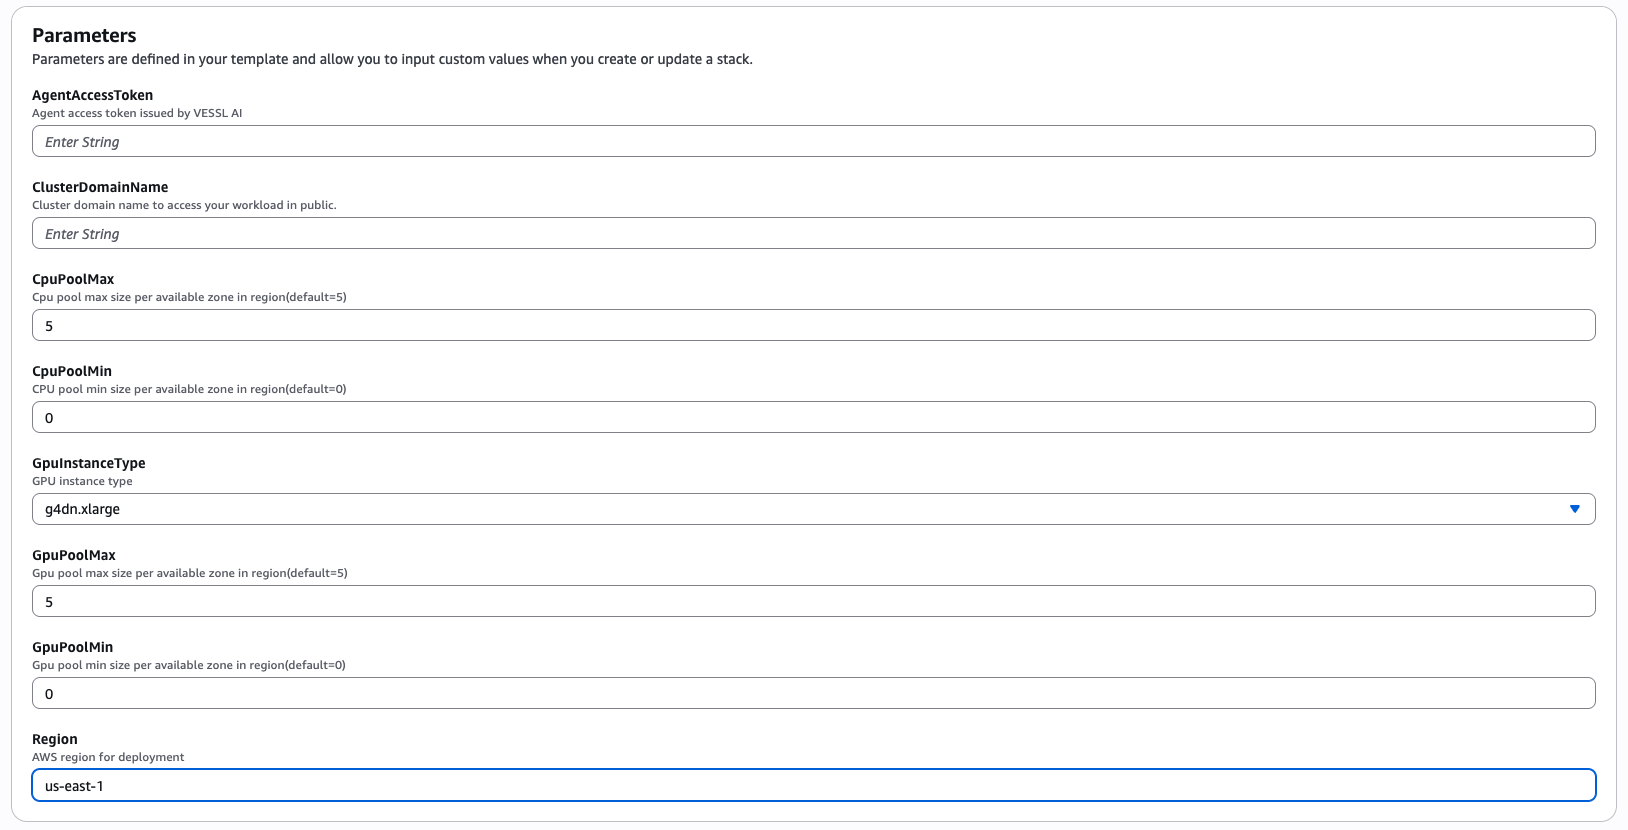
Stack Name: This will be your VESSL cluster name.AgentAccessToken: Paste the token copied from Step 2.ClusterDomainName(optional but recommended):- Use a custom domain (e.g.,
example.com). - Services will be accessible at subdomains such as
service1.example.comandmodel.example.com.
- Use a custom domain (e.g.,
CPUPoolMax/CPUPoolMin: Set max/min CPU nodes per availability zone. (Defaults: 5 / 0)GPUInstanceType: Select your preferred GPU instance type (e.g.,g5.xlarge,p3.2xlarge).GPUPoolMax/GPUPoolMin: Set max/min GPU nodes per availability zone. (Defaults: 5 / 0)Region:
5
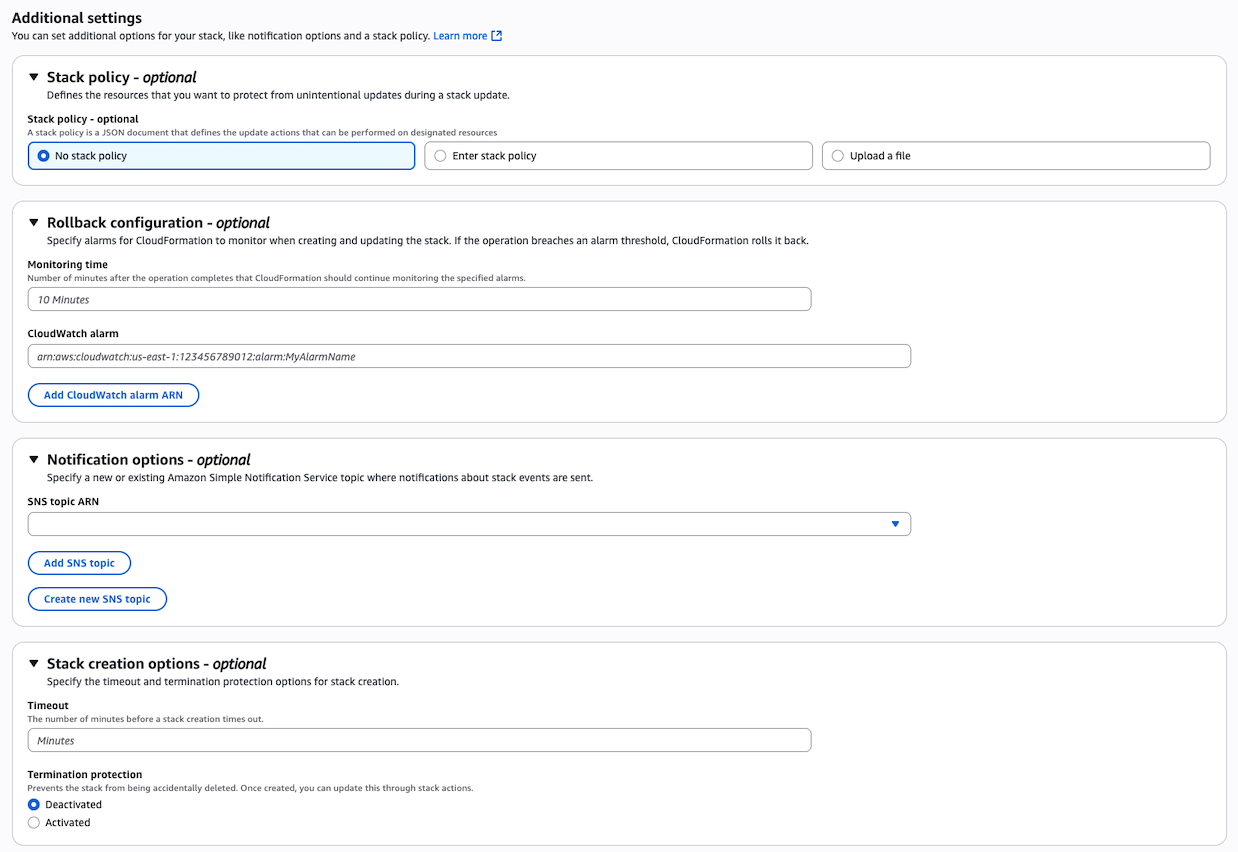
Configure optional settings
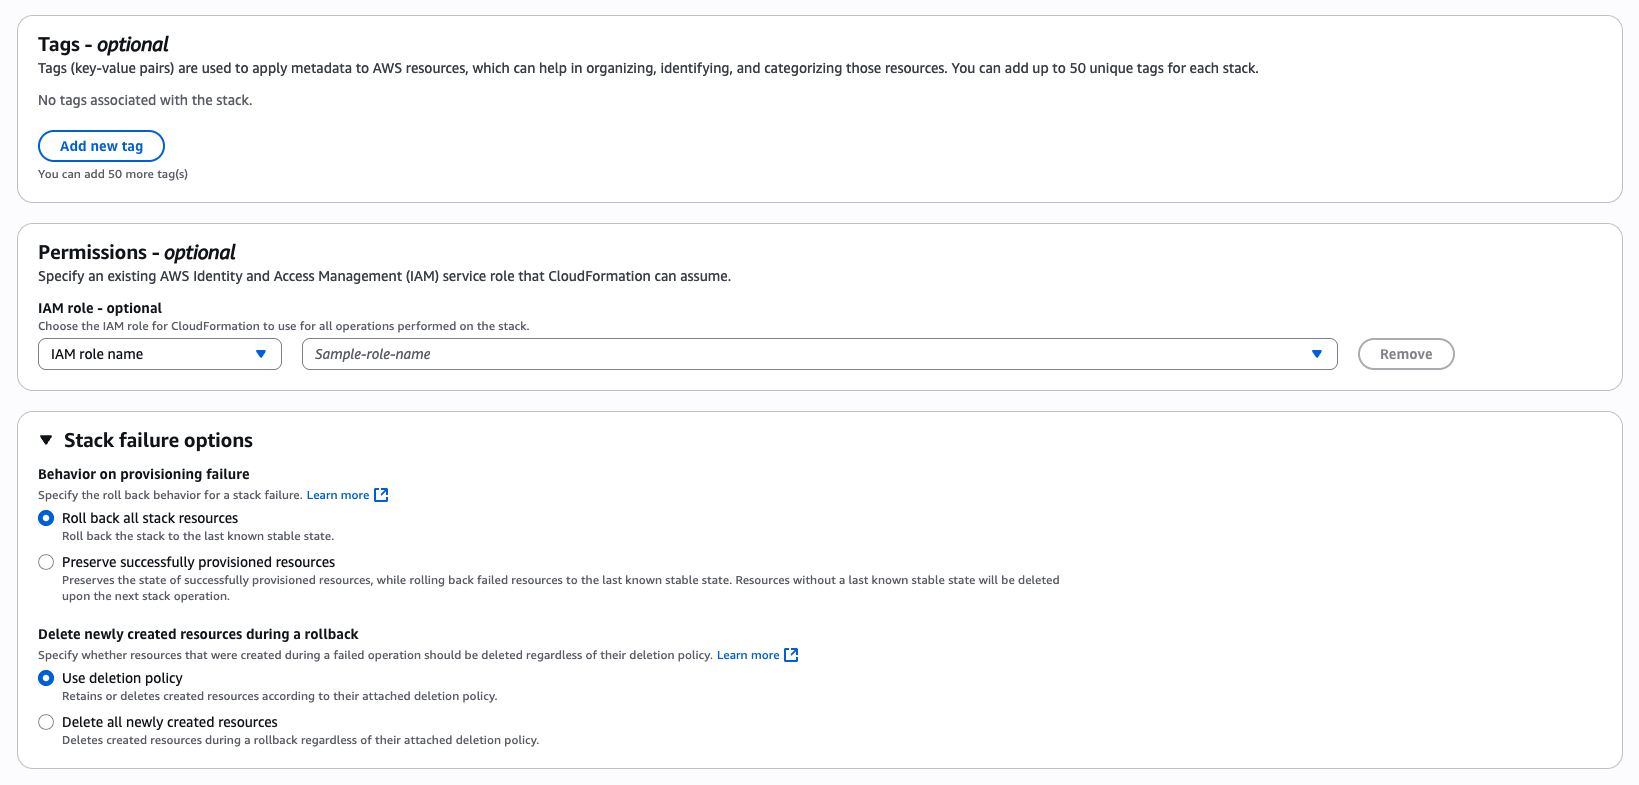
- Tags: Add up to 50 key-value pairs for organizing and managing your resources.
- Permissions: Optionally specify an existing IAM role that CloudFormation should assume.
- Stack Failure Options:
- Define rollback behavior upon provisioning failure.
- Choose whether to delete or retain resources after rollback.
- Advanced Settings:
- Stack policy
- Notification options (e.g., using SNS)
- Rollback monitoring (e.g., using CloudWatch)
- Timeout and termination protection
6
Configure DNS
Once you complete the CloudFormation form and click Next, the stack’s
Outputs section will display your DNS configuration details.To complete the DNS setup:
- A Route 53 Hosted Zone will be automatically created based on the
ClusterDomainNameyou provided. - Copy the Nameserver (NS) records listed in that Hosted Zone.
model.example.com.7
Complete integration
Once the CloudFormation stack is successfully created: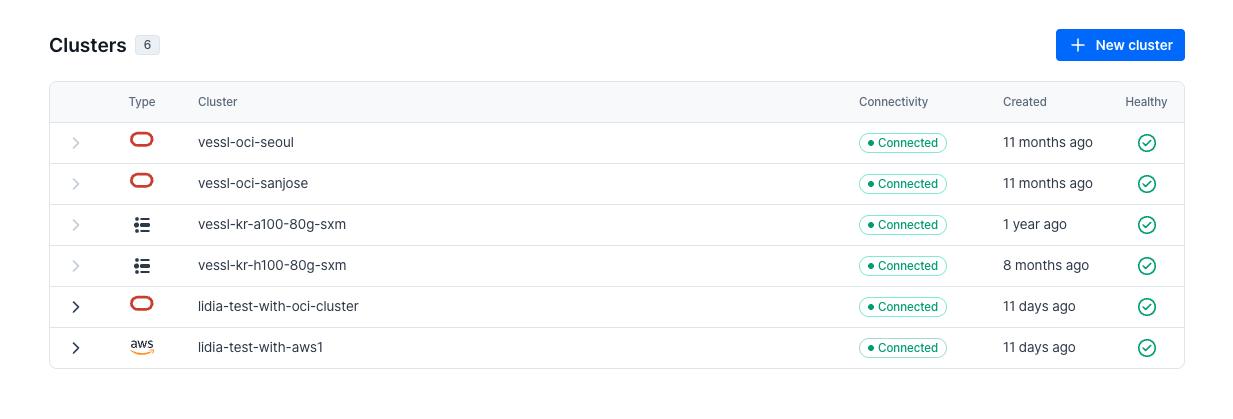
- Your AWS EKS Cluster will appear in the VESSL Console.
- The cluster is now ready to run:
- ✅ Training
- ✅ Inference
- ✅ Service workloads
- You can now deploy models and pipelines using Workspace, Service, or VESSL Run.